How to Move Videos from iPhone to Mac When AirDrop is Unreliable
Written on
Transfer Methods Overview
AirDrop is a fantastic feature—when it functions properly. However, what happens when you're unable to transfer larger video files due to AirDrop's limitations?
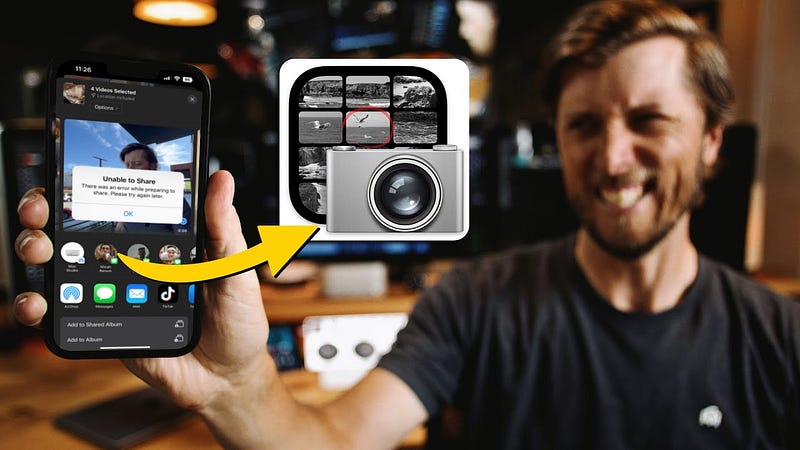
While the convenience of AirDrop is undeniable, especially for smaller files, my experience with larger video clips, such as 4K recordings from my iPhone 13 Pro Max, has been less than satisfactory. When trying to transfer multiple videos that can last anywhere from 5 to 10 minutes, I've found AirDrop to be quite unreliable.
Honestly, I can't recall the last time I attempted to transfer over 10GB of video files using AirDrop, as the likelihood of failure makes it seem pointless. So, what alternatives do you have?
Exploring Alternatives
One option could be using iCloud Photo Library. However, this method tends to be slow. If you’ve just recorded several lengthy clips, uploading them to iCloud and then syncing them to your Mac via the Photos app can take a considerable amount of time. If you're dependent on a cellular connection, it's even less feasible. The only time I find this method practical is when I can afford to let my videos upload overnight over Wi-Fi, allowing me to access them on my Mac the next morning for editing.
Using Final Cut Pro
Another solution is to connect your iPhone directly to your Mac via a Lightning to USB-C cable (or USB-A for older Macs) and navigate to File > Import > Media in Final Cut Pro. This opens up an import window where you can select your iPhone from the devices displayed on the sidebar.
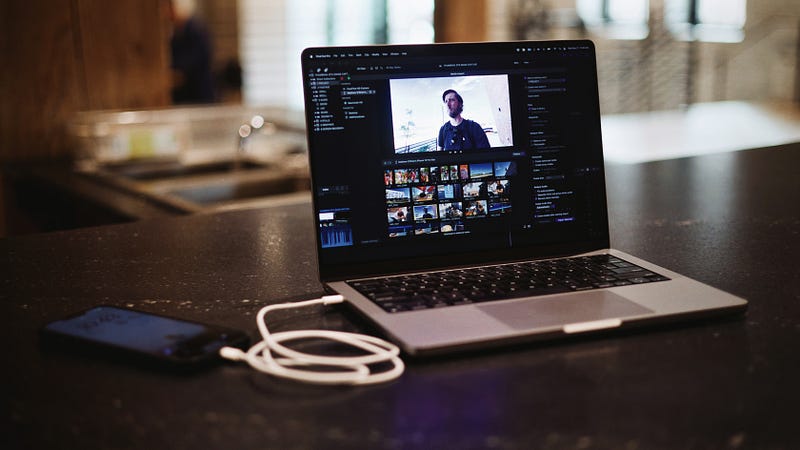
However, there is a downside: transferring video files this way means they will be stored in your Final Cut Pro Library. While this may work for some, I prefer keeping my media organized in Finder for easier access during editing or after archiving a project.
Finding a Reliable Method
So, what’s the most dependable method for transferring video files? I recommend using an often-overlooked app—Image Capture. This built-in macOS application is straightforward and effective.
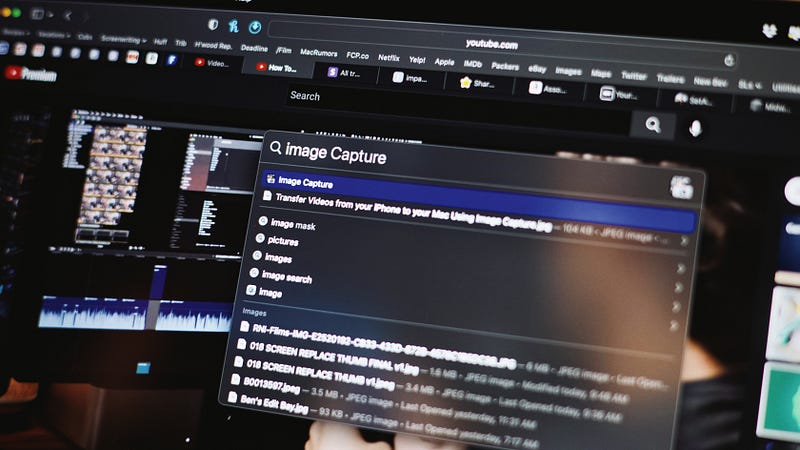
To launch Image Capture, click on the magnifying glass in the upper right corner of the Menu Bar to access Spotlight search, or press Command + Spacebar and type “Image Capture.” Once the app appears highlighted, press return to open it.
After connecting your iPhone to your Mac with a Lightning to USB-C cable and unlocking your phone, you'll see your videos and photos populate in the app. Select the video files you wish to transfer. At the bottom, you can specify where to save your videos by clicking the drop-down menu and choosing “Other” to navigate to your desired folder.
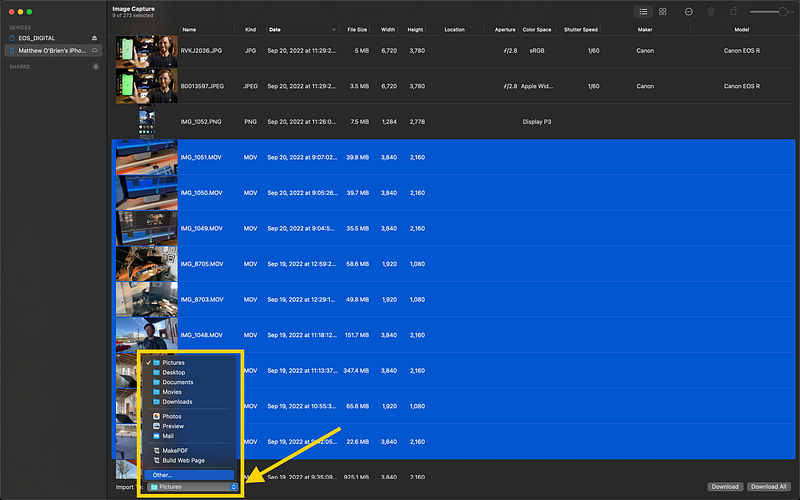
Once you've made your selection, simply click the “Download” button in the lower right corner. Avoid using “Download All,” as this will transfer every photo and video file on your device.
When the transfer is finished, all your video files will be available in the folder you selected on your Mac.
The USB Transfer Limitation
A downside to this method is the limitation imposed by the Lightning port on newer iPhones, which still uses USB 2.0 data transfer speeds. This means you're capped at about 480 Mbps, while USB 3.0 via USB-C can reach 5.0 Gbps—more than five times faster. This difference is significant when transferring high-resolution 4K videos and high-megapixel images.
Sometimes, AirDrop may transfer files more quickly under optimal conditions than a direct USB 2.0 connection, but I find it far less reliable, especially when lengthy transfers are interrupted by your phone going to sleep.
Important Settings to Adjust
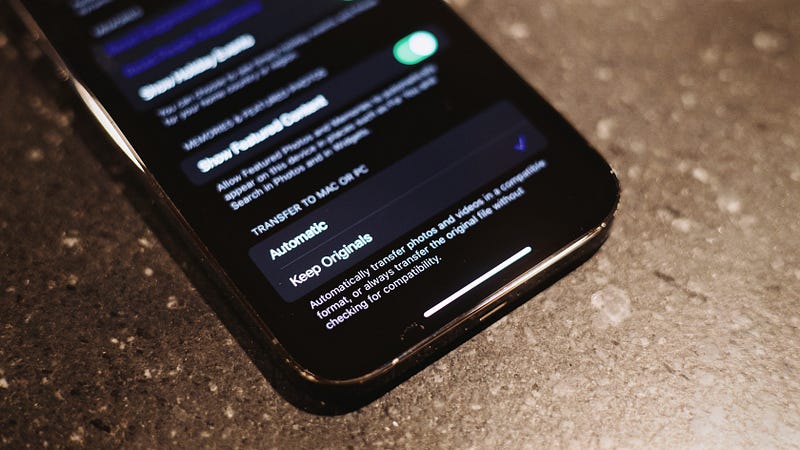
When using Image Capture, ensure that your iPhone is set to transfer original files. Go to Settings > Photos on your device, scroll down to "Transfer to Mac or PC," and switch this option from Automatic to Keep Originals. This step will guarantee that the original camera file is transferred rather than a modified version that may not be compatible with your Mac.
In conclusion, while Image Capture may have a somewhat outdated interface, it is reliable and user-friendly. Did you know about this app? If not, what methods do you use to transfer your photos and videos to your Mac?
For those who appreciate my insights, consider joining Medium for more great content. I recently signed up for a membership and highly recommend it. Click here to join (a portion of your membership fee supports my work!).
You can also check out my YouTube channel for more on Apple Tech, Filmmaking, and Final Cut Pro insights:
Matthew O'Brien
Final Cut Pro Tips, Tricks & Tutorials, Camera & Film Gear Reviews, Post-Production Workflows & Data Management Insights...
www.youtube.com
For the video version of this article, watch here: