Creating Your Own Spectrometer: A Guide to Light Measurement
Written on
Chapter 1: Introduction to Spectrometry
Light plays a crucial role in measuring various phenomena in our universe, such as elemental composition, color variations, and even galactic shifts. Its ubiquitous presence simplifies our task of analysis significantly. So, how do we begin the journey of measuring light effectively?
Light and Dark: The Basics of Spectrometry
Light is virtually everywhere, providing us with ample opportunities to study its properties.
To begin our exploration, we need a spectrometer (as summarized in the accompanying video below). For now, our focus will be on the construction and components of these devices. There are primarily two categories of spectrometers:
- Homemade Spectrometers: These devices are generally simpler and do not require computer assistance. While they lack the precision of scientific spectrometers, they offer a visual understanding of light differences—like distinguishing between fluorescent and LED lights. Homemade spectrometers are excellent for educational demonstrations on the principles of spectrometry.
- Professional Spectrometers: These sophisticated instruments are computer-based and capable of in-depth analysis, such as identifying elements or measuring galactic movements. Unfortunately, they often come with a hefty price tag, making them less accessible.
For a project, I delved into the realm of homemade spectrometers, which are typically much more budget-friendly. Here’s an overview of my experience and how you can create one yourself.
Chapter 2: Building Your Own Spectrometer
Initially, my quest to construct a spectrometer was met with obstacles. The most reliable kits I found were priced over $150, an expense beyond my means as a student. After some inquiries at school, I discovered a teacher who had experience in spectrometry!
Through discussions and independent research, I learned there are two primary methods for creating a spectrometer without needing to connect it to a computer:
- DIY Construction: This involves utilizing diffraction grating (which can be hard to find, but a CD is a suitable substitute) and a basic wooden box.
- Using a Kit: I was fortunate enough to work with a kit provided by my teacher while also studying the underlying computer programs (even though I didn't utilize any myself).
Both options can be assembled for around $10, a much more feasible alternative to advanced computer-based models. The kit I used comprised three essential components: an entrance slit, diffraction grating, and a plastic midsection to block extraneous light.
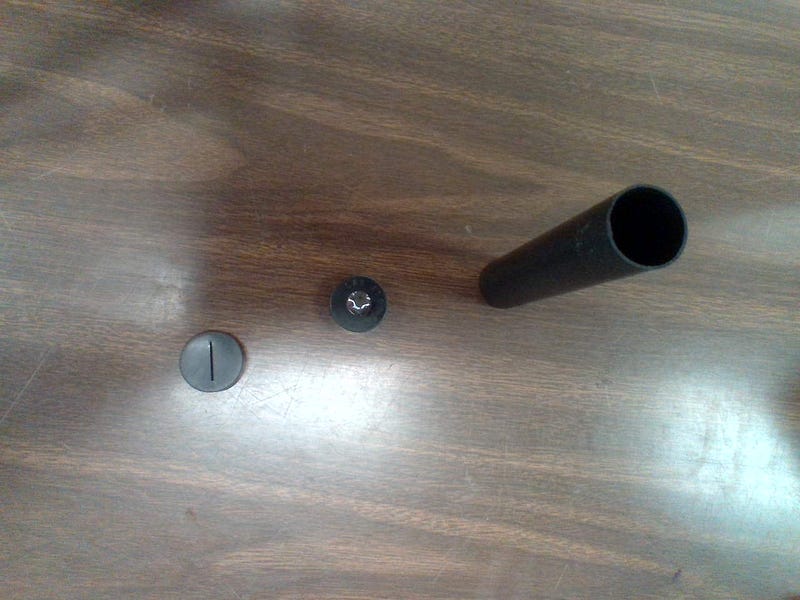
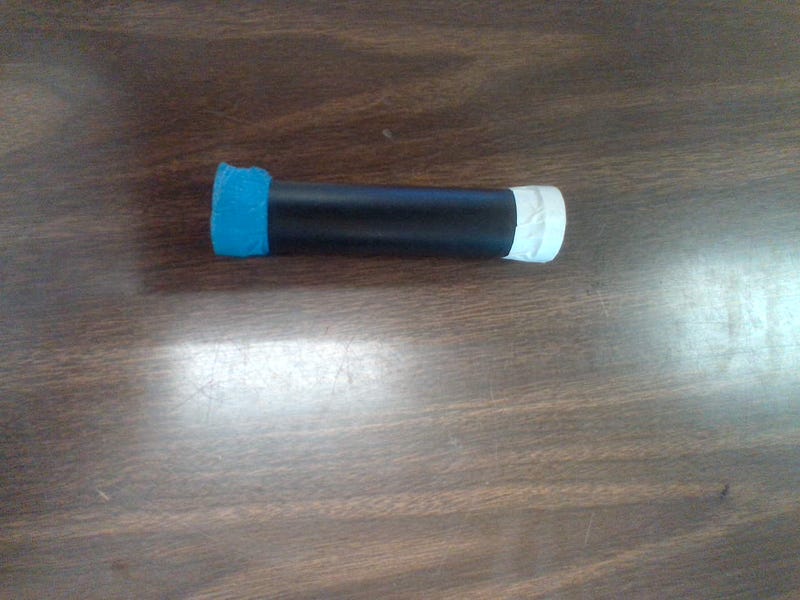
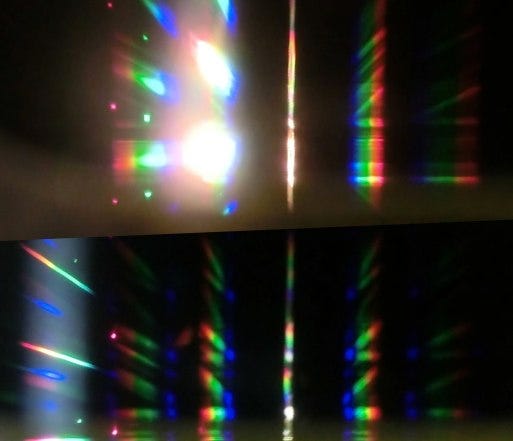
Once assembled, the spectrometer proved to be user-friendly and engaging for experiments. While interpreting light can be challenging, notable differences can be observed in various readings (e.g., ultraviolet versus LED lights).
If the kit approach doesn’t appeal to you, there are alternatives. I initially drafted plans for a spectrometer but abandoned them due to high costs. My design included a webcam for visual output without analytical capabilities. While this seemed promising, it required more components than the kit:
- Diffraction Grating: Sourcing this was difficult, but I discovered that a blank CD can serve the same purpose.
- Collimator: A curved mirror that directs light for accurate measurement.
- Camera/Mirror Lens: This component focuses light before it reaches the detector.
- Detector: This scans the light and displays it on a screen, although I faced challenges finding a suitable webcam.
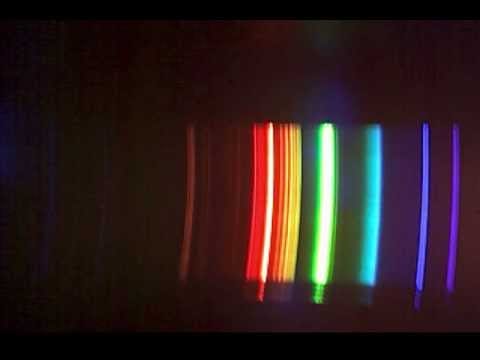
Using this configuration, the readings would resemble the emission spectra of various elements, though this method is typically reserved for advanced spectrometers.
Chapter 3: The Functionality of Professional Spectrometers
Professional spectrometers operate on similar principles to basic models, with key differences in how they capture light (hint: they emit light first) and how the data is processed.
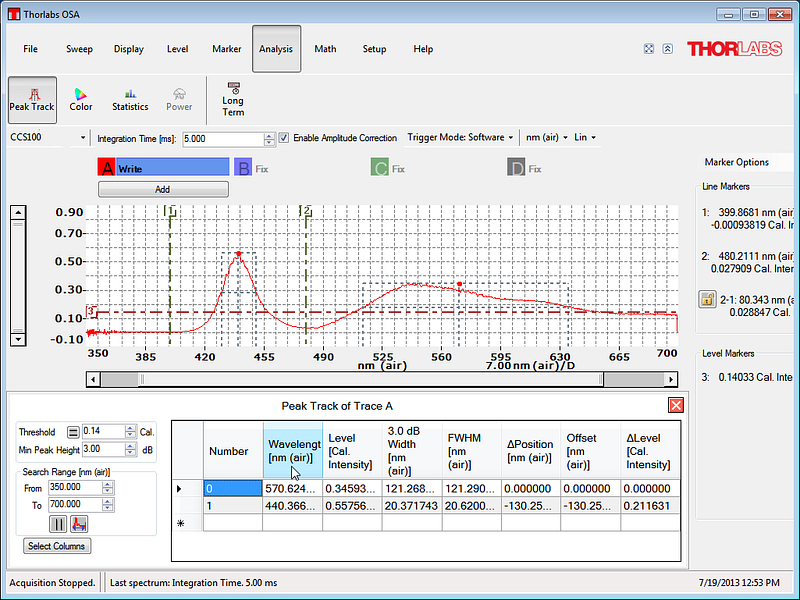
Data from professional spectrometers is often analyzed using specialized software, which provides precise insights into the observed samples. This analysis can be more accurate than manual observations.
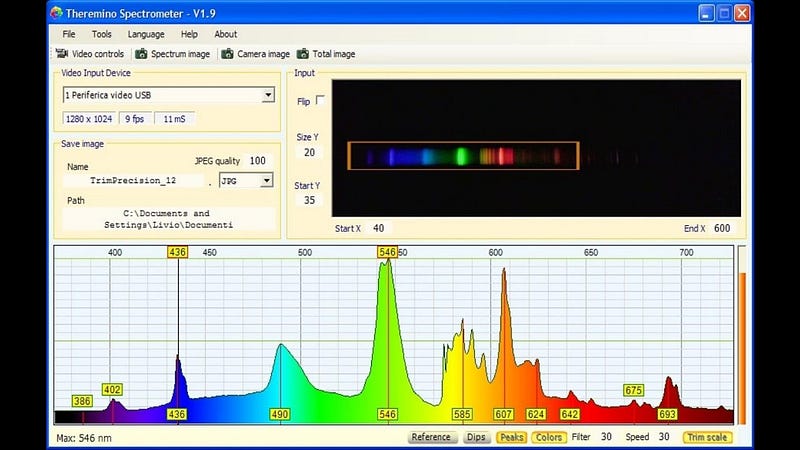
In this software, the height of color peaks indicates the concentration of elements. When white light interacts with an object, some wavelengths are absorbed while others are reflected, causing the object to appear a certain color. For instance, a red table absorbs all wavelengths except red.
By examining the emission spectra of elements, scientists can identify the type of elements present, which is particularly beneficial for research on distant planets.
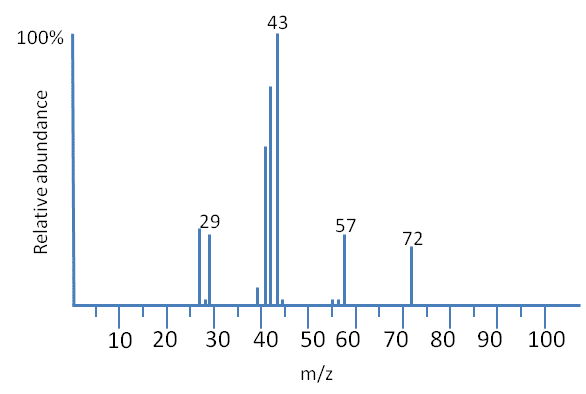
Mass spectrometry in biotechnology is another significant application of spectrometers. The approach here differs, focusing on measuring the densities of molecules rather than light. Though light plays a lesser role, the technique is still invaluable.
Chapter 4: Conclusion
Spectrometry is an exciting field with numerous future applications. Whether you choose to build a spectrometer, purchase one, or gain access through a laboratory, there are various paths to explore this fascinating area. Kits and DIY projects are cost-effective, but it's easy to get overwhelmed by expensive components.
Now that you have a spectrometer, dive into the readings! The depth of analysis can vary; simpler models require manual interpretation, while advanced spectrometers offer computerized data that facilitates identification.
For those interested in biotechnology, mass spectrometry is a viable alternative for analyzing molecular concentrations. While not as visually appealing as traditional spectrometry, it serves a vital role in research.
Remember, you don’t need high-end lab equipment to embark on your journey of light exploration. Even a simple kit can offer a fantastic demonstration of light measurement. The key is knowing where to look!
Thank you for reading! If you want to discuss my work further, feel free to reach out at [email protected] or connect with me on LinkedIn!