Automating Application Deployment with CI/CD Pipeline: A Guide
Written on
Chapter 1: Introduction to CI/CD Pipelines
In this project, I developed a CI/CD pipeline to streamline the deployment process for my development team. The goal was to automate the app deployment, eliminating the need for manual builds whenever updates were made to the codebase.
My team requested a solution to simplify the deployment process for our application. Previously, developers had to manually execute the build process to test any new changes. I needed to provide them with a static site URL and make necessary modifications to the code in the GitHub repository to ensure the pipeline functioned correctly.
Section 1.1: Forking the GitHub Repository
Subsection 1.1.1: Setting Up the S3 Bucket
To host the static website, I proceeded to configure an Amazon S3 bucket.

Following the initial setup, I enabled Access Control Lists (ACLs).
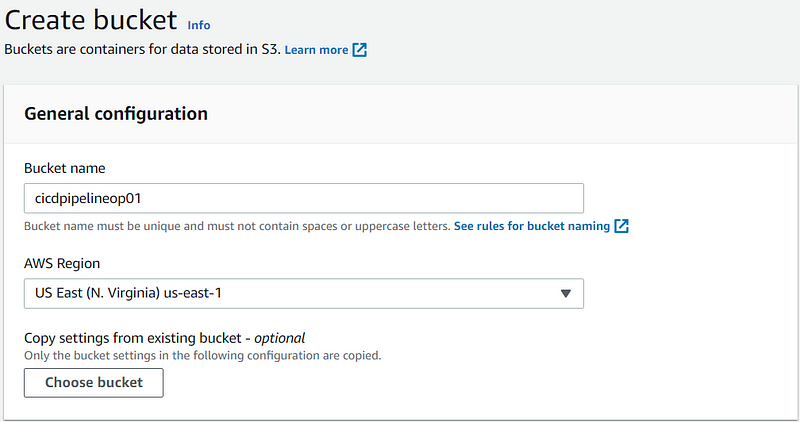
To allow public access, I unchecked the “block all public access” option. Note that this is not a recommended practice but was necessary for the scope of this project.
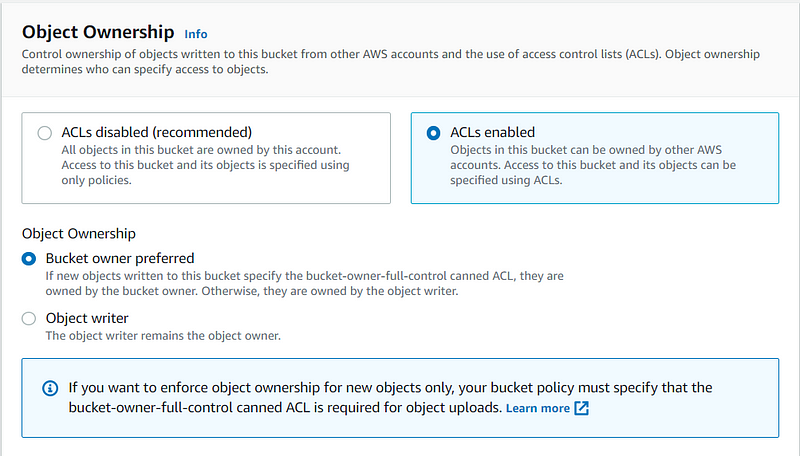
After finalizing these settings, I clicked on “create bucket.” However, additional configurations were required.

Next, I navigated to the properties section of the bucket to enable static website hosting, specifying the index.html file.
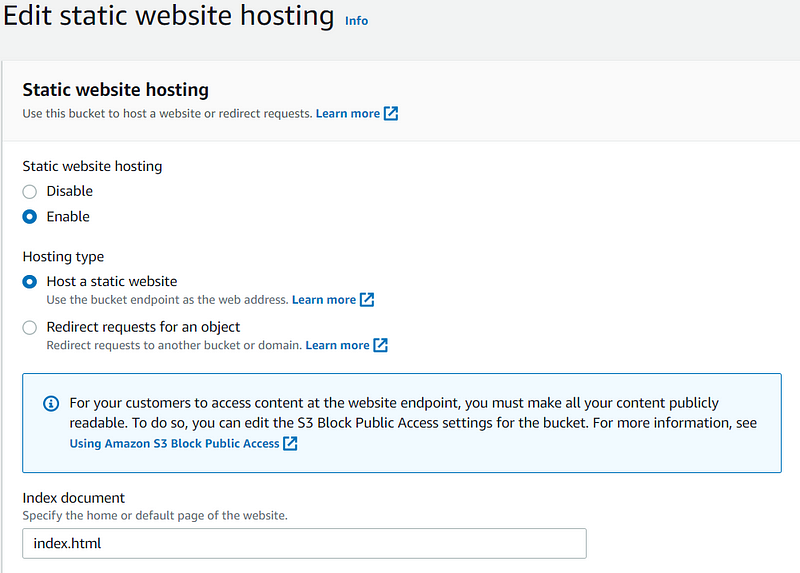
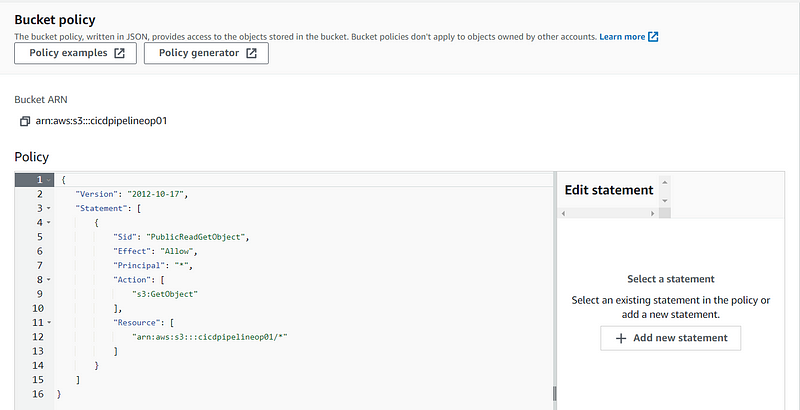
After saving the changes, I proceeded to adjust the bucket policy to allow public access, following the guidelines from AWS documentation.
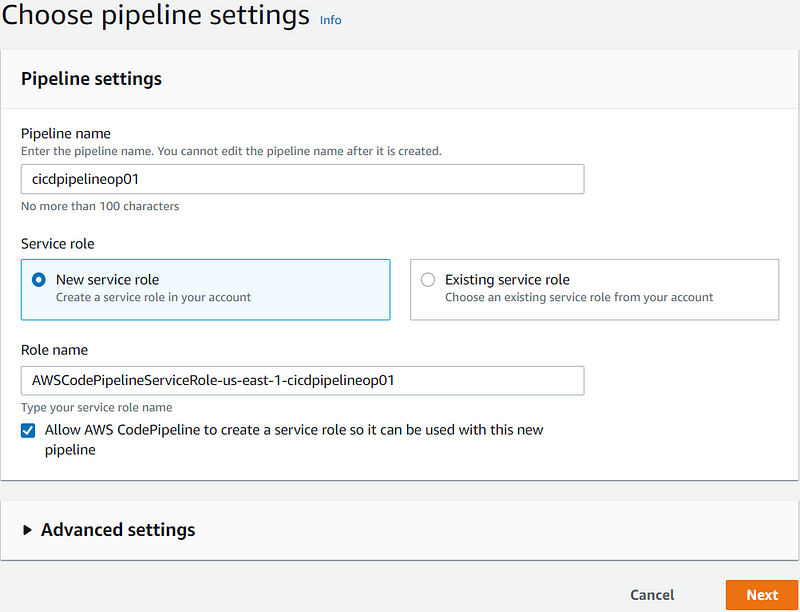
Section 1.2: Configuring the CI/CD Pipeline
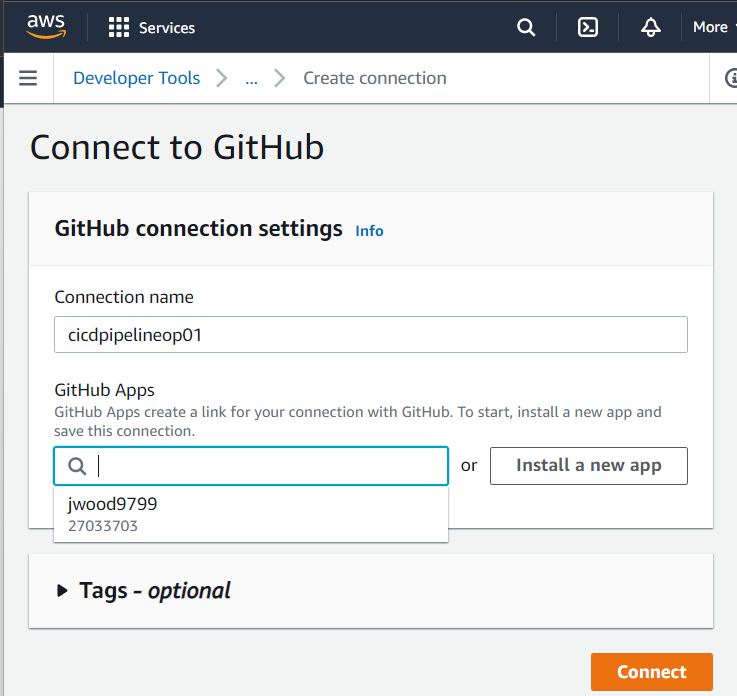
I selected GitHub (Version 2) as my source provider and established a connection to the platform.
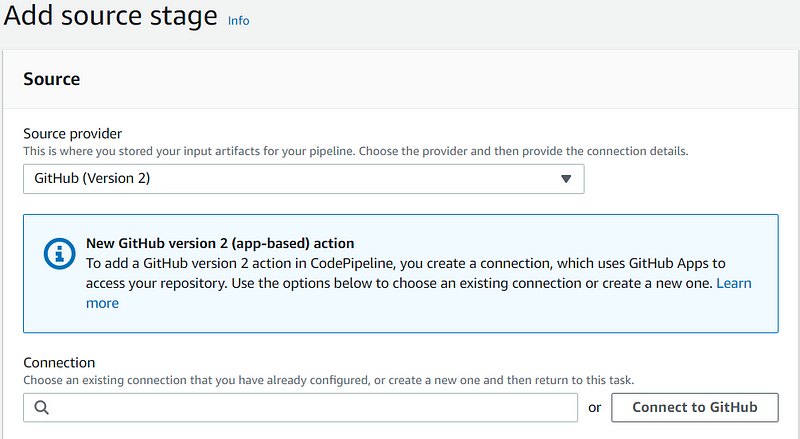
Initially, I had to complete several steps to link my GitHub account, but now it’s a straightforward selection.
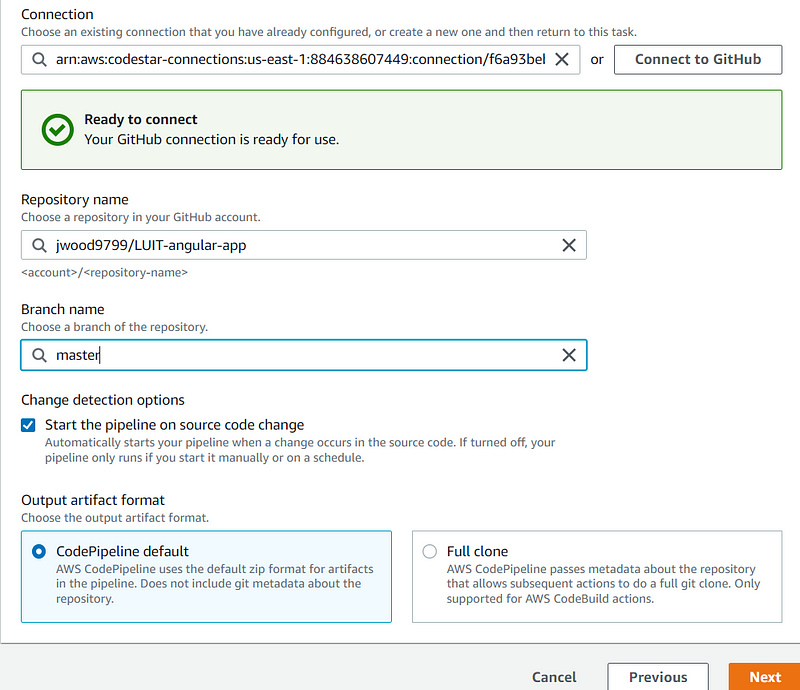
I then picked the relevant repository and branch, proceeding to the next step.
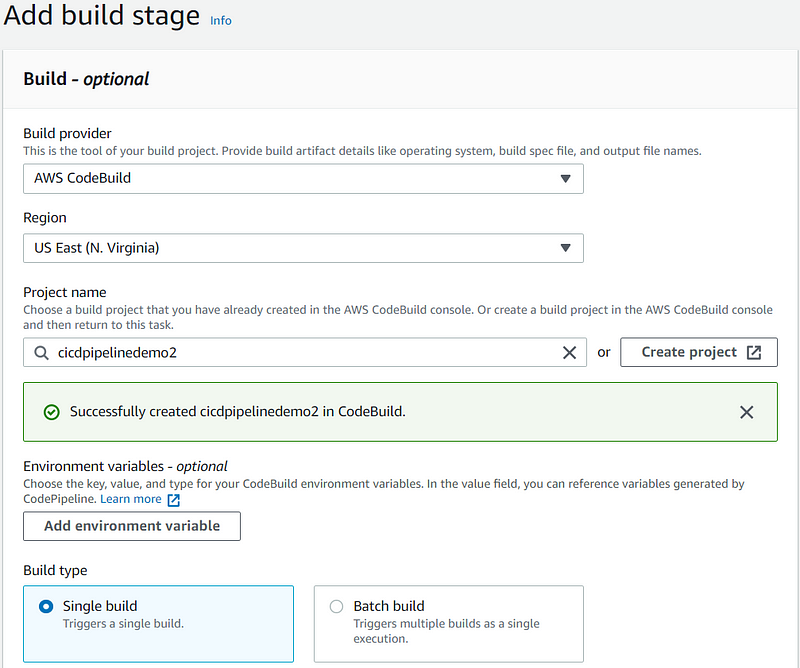
Subsequently, I opted for CodeBuild as my provider and created a new project.
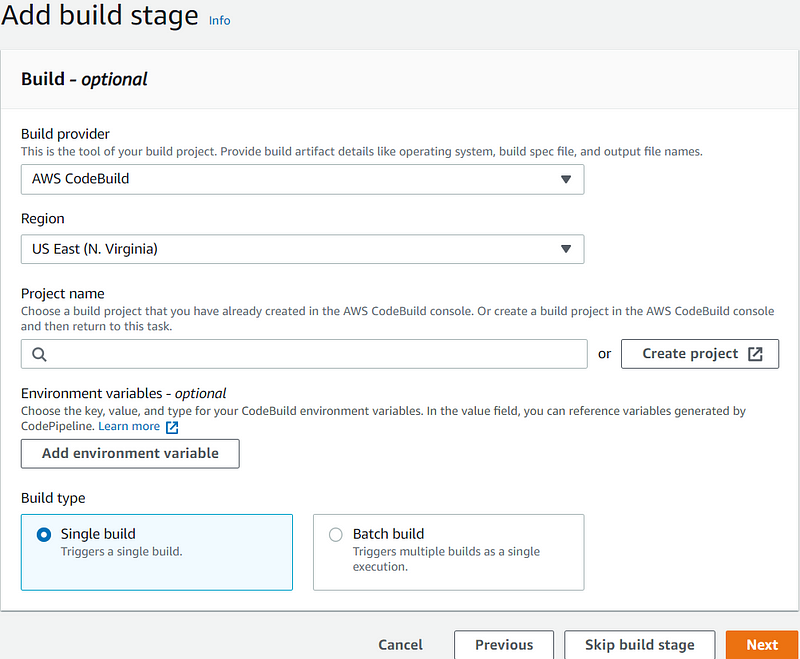
After naming the project, I selected the necessary options.
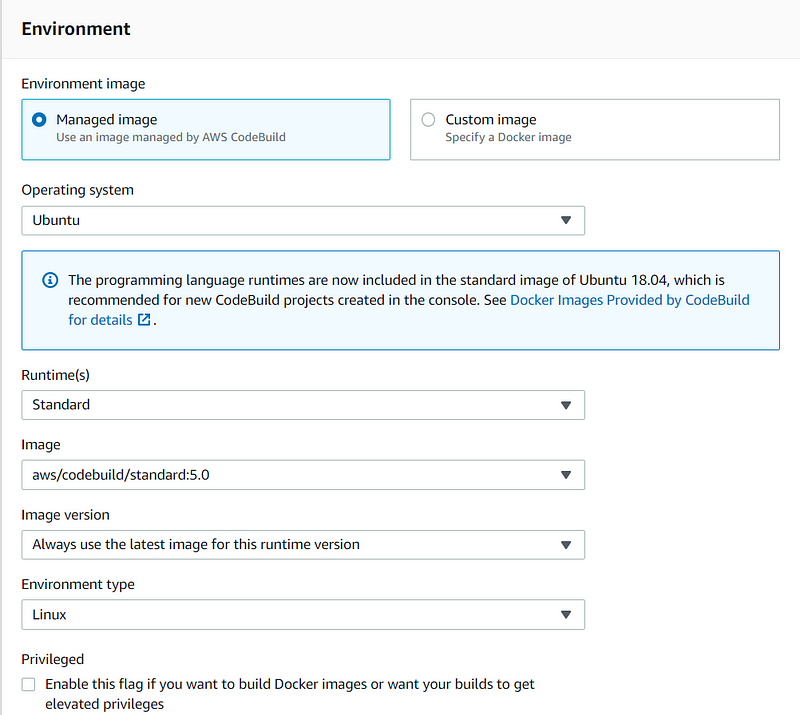
I utilized a new service role along with a build spec file before moving on to CodePipeline.
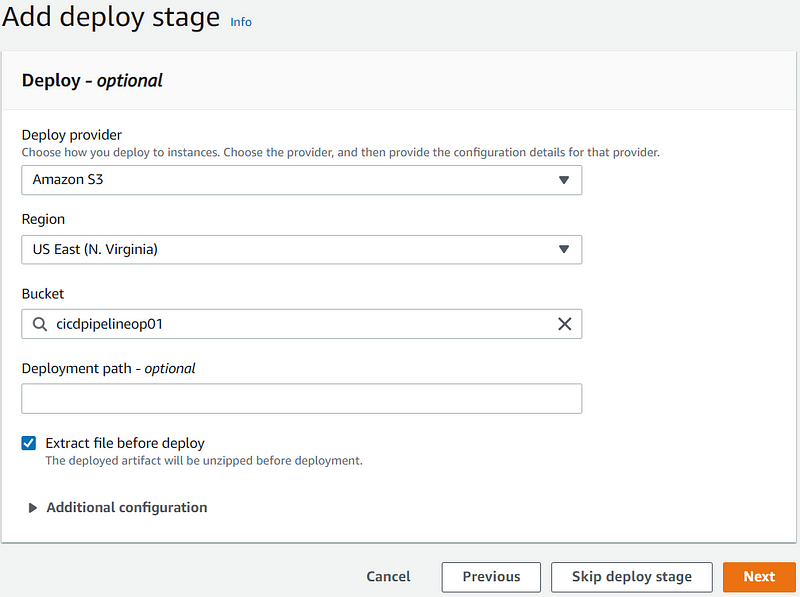
As I continued, I reached the deployment stage where I selected S3 as my provider, chose the bucket, and opted to extract files before deployment.
After reviewing all configurations, I created the pipeline, which usually requires some time to complete.
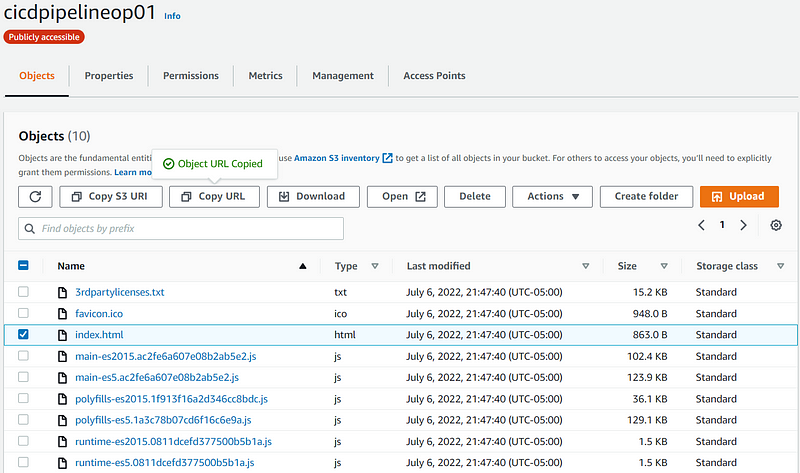
Upon successful build and deployment, I accessed my bucket, located the index.html file, and copied its URL to paste into my browser.
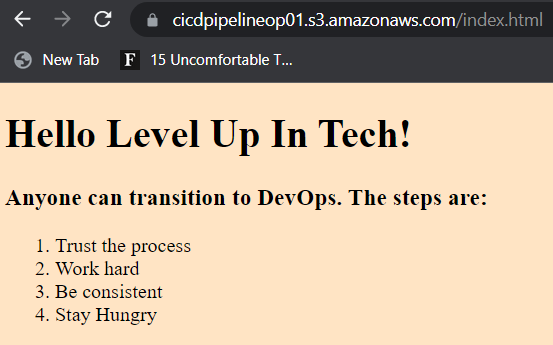
The application was up and running!
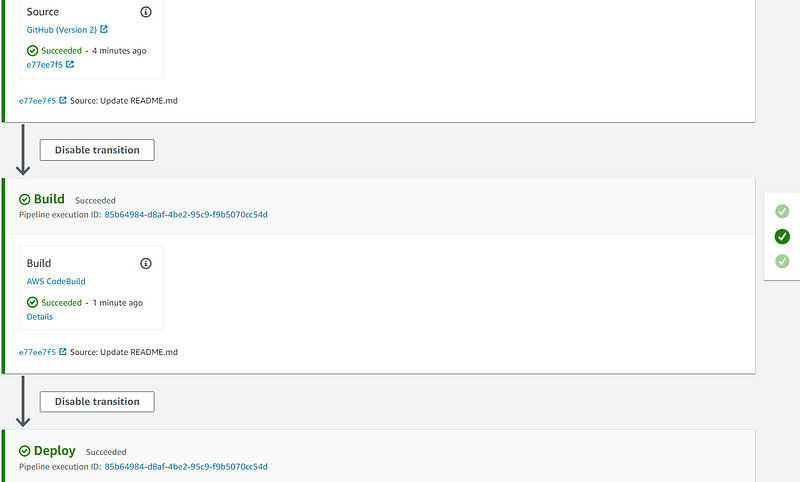
Lastly, I needed to verify that my pipeline would trigger upon changes made to the GitHub repository. I made a quick edit to the README file as a test. After committing the changes, I checked the pipeline status.

The pipeline was in progress, and it succeeded, confirming that the changes went through.

To ensure everything was functioning correctly, I quickly reviewed the history.
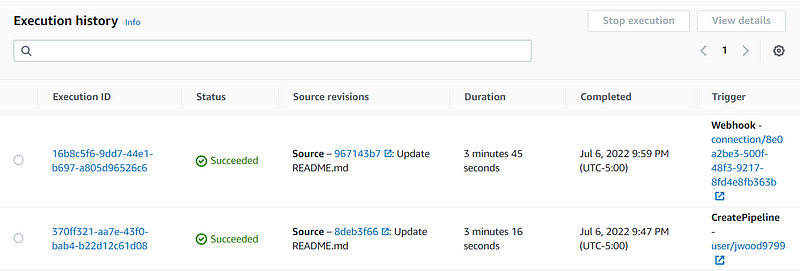
Everything looked great! Our developers are now relieved from manually building their code for each update. Thank you for reading, and I hope you found this guide helpful.
Jason Wood
@jwood9799
Chapter 2: Video Tutorials on CI/CD Automation
This video walks you through the AWS Academy Cloud Developing Lab, focusing on automating application deployment with a CI/CD pipeline.
In this lab module, you will learn how to automate application deployment using a CI/CD pipeline effectively.